
There’s quite a few reasons why people might want to have an additional presence on Facebook, alongside their main profile. And the good news is that there’s now multiple ways of doing this.
But the distinction between accounts and profiles can be confusing, so let’s break it down for more clarity:
- Profile – Is the actual persona or profile of yourself that you first created when you signed up to Facebook.
-
- Main profile – the first one you set up when you joined Facebook
- Additional profiles – Facebook now allows adult users to create 4 additional profiles alongside your main profile within the same account.
-
- Account – Is the entire account that you need to set up first, before you even create a profile. Must have unique login credentials, including an email not used for any other Facebook account, and a password and personal details. You access the account to then access your main profile and any sub-profiles.
Based on these distinctions, you’ve got a couple of main options when deciding what you want to do:
- Create an additional profile from within the same Facebook account.
- Create a brand new Facebook account with a new email.
- Create an additional page from within the same Facebook account.
Regarding the most common option of adding additional profiles within an account, here’s the very quick steps:
- Click on your account image in the top right corner.
- Click “See all profiles”
- Click “Create new profile”
- Follow the instructions and enter your details to create a new profile.
Let’s cover each option in detail (skip to the one you want).
Option #1 – Create An Additional Profile From The Same Account (Easy Option)
If you’d rather have all your different presences on Facebook contained under the same single account, to prevent having to log in to different accounts, this is your best option.
Facebook now allows adult users to add 4 more profiles alongside their main one, all under the same account for convenience.
Here’s how you do this:
Step #1 – Click on your current account profile picture in the top right corner of the screen, then click on See all profiles and under your existing profiles click Create new profile:

Step #2 – Enter some basic details to get started creating the new Profile:
- Profile name
- Username
- Photos (optional)
- Other basic info
Adding new profiles can be useful to connect with specific people, or show a certain aspect of your life/work/personality that you prefer to have it’s own space separate from your main profile.
But be aware that certain Facebook features, such as Dating, Marketplace and a few other things aren’t available on additional sub-profiles, so you may need to create whole new accounts if these features are what you want.
Once created, you can easily switch between profile by clicking your current profile pic on the top right. It’s good having them all under one login so this is probably the most popular option for people wanting to have multiple presences on Facebook.
Option #2 – Set Up A Brand New Facebook Account
A more thorough method is to set up a brand new Facebook account from scratch, and add new profiles from there. However, you can’t have multiple entire accounts attached to the same email address, so you’ll need a new email as well not currently connected to another account.
Note – Please bear in mind that it’s technically against Facebook’s Community Standards to maintain more than one personal account.
Here’s your steps to do it this way:
Step #1 – Set up a brand new email address if needed, or log in to one not currently connected to any other Facebook account. Gmail and ProtonMail are two good options if you need to set up a new one.
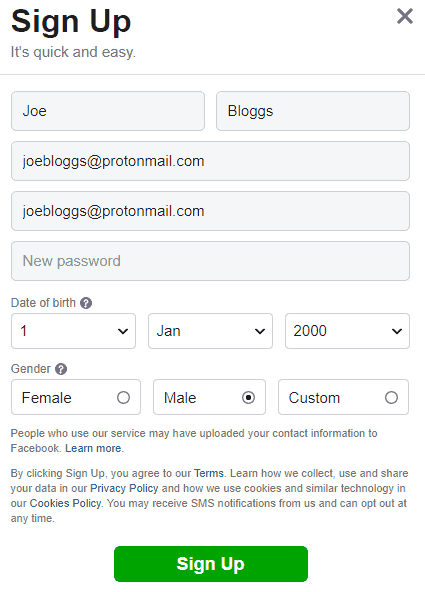
Step #2 – Set up a new Facebook account. Go to the homepage and click on Create Account. Then enter the requested details (email, username, real name, DOB, password, etc). Doing it this way, any login credentials are totally separate to any other Facebook accounts you have and need to be memorized individually. You’re often sent a verification code to the attached email to confirm the account setup.
Step #3 – Once confirmed, create new profiles within your newly created account. Initially, these will not be connected to any other profiles/pages you have on other Facebook accounts, although you can start connecting them by adding as Friends.
Option #3 – Create A New Page From The Same Account
Another option that isn’t suitable all the time but can be useful in certain cases is to add Pages from within one Facebook account, which again can be separate from your main personal profile, but all accessible under the same account login.
This can be good for:
- Setting up, promoting and managing businesses
- Promoting causes
- Promoting charities or charity events
- Other vocational pursuits.
Here’s how you do this:
Step #1 – Within your Facebook account homepage, scroll down the Pages on the left hand sidebar, and then click on Create New Page:

Step #2 – Enter the basic details, such as page name, Category, Bio, pictures etc. If you’re trying to promote something, provide as much detail as possible and try to have eye catching photos and graphics. See this post for good advice on creating and managing a good Facebook business page.
Once completed, this page can display to other Facebook users through discovery or search, and can be edited and managed from within your Facebook account. It’s not connected directly to any personal profiles, but is contained and managed from within the same overall account as your profiles.